September 17, 2026
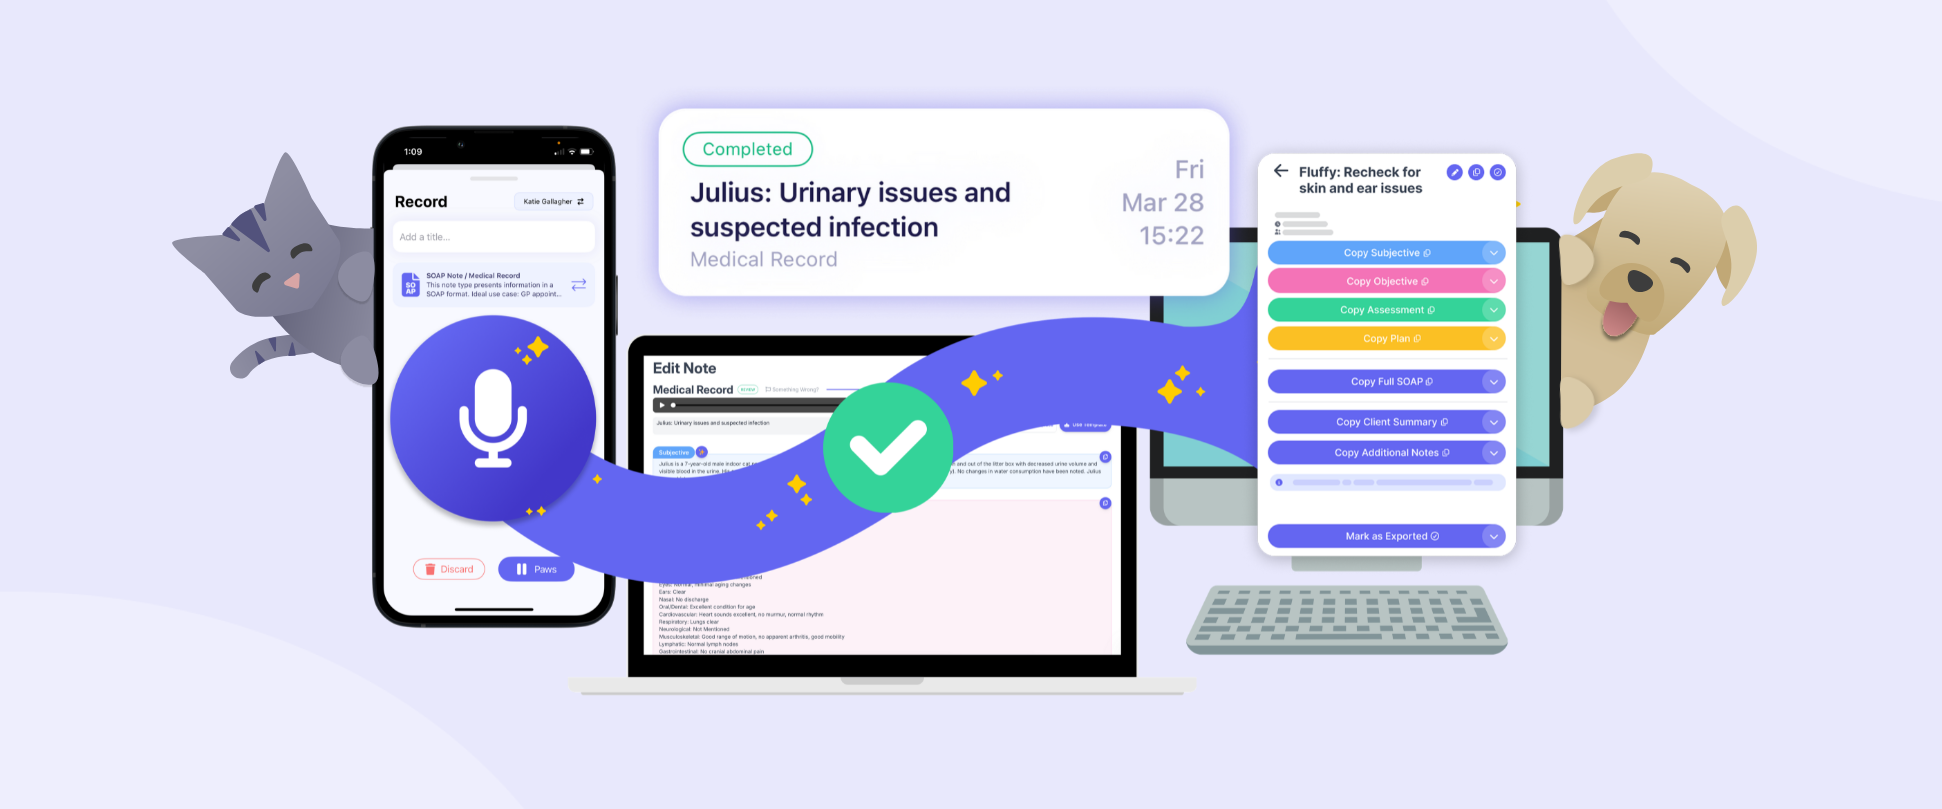
In this blog post, we'll introduce the three basic features that'll help you get the most out of Scribenote: setting up your own template, recording notes, and exporting notes into your practice management system.
Templates are where Scribenote starts sounding like you. You set up the structure you actually use: your headings, your examination order, the phrases you say every time. Then, Scribenote fills it in from what you said out loud during the appointment.
Most vets build their own from a preset. You pick a template structure, then change whatever you want until the note reads the way you'd write it. It's a Pro feature, and available to try during our free trial period.
Type your body systems and normal findings straight into the Objective section where you want them to appear. Scribenote will fill in the normals for the body systems not mentioned in your exam, so you'll only need to record abnormal systems during your appointment.
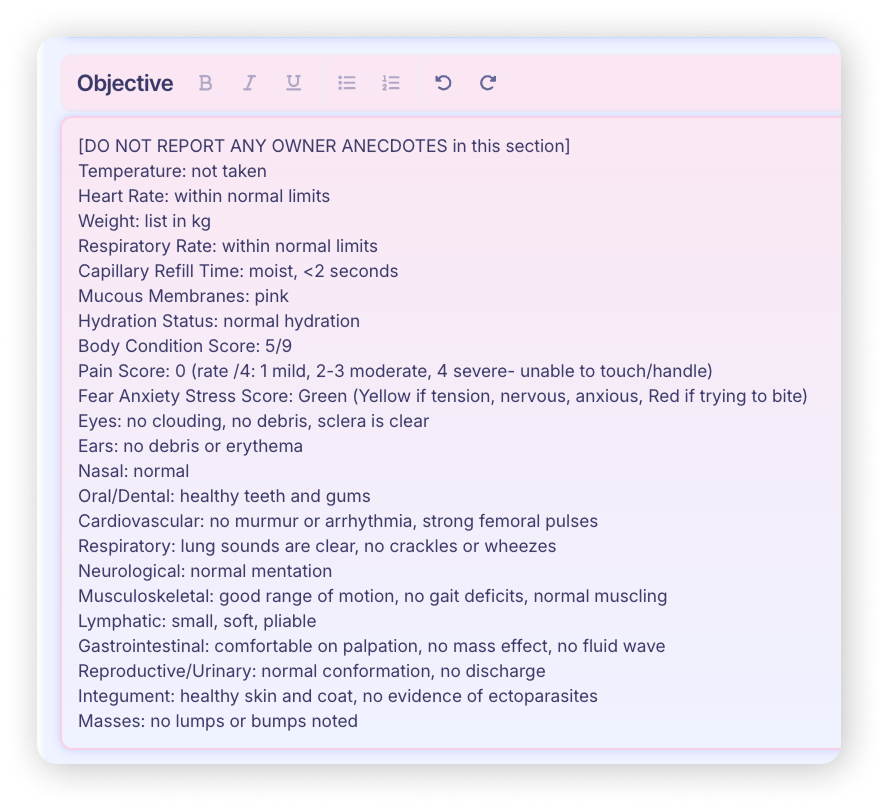
Our in-house clinical team has created a library of 25+ Adaptive Templates. Click the ones you want, hit "Copy to my Templates", and they'll be saved to your account. Use one for a few days, then edit it later to suit your needs.
Here are 3 of our most popular:
Explore the entire template library →
Drop in your PDF and Scribenote rebuilds it as an Adaptive Template for you to use.
Scribenote knows what belongs in a note and what doesn't, so talk to your client the way you normally would and the small talk stays out of the record.
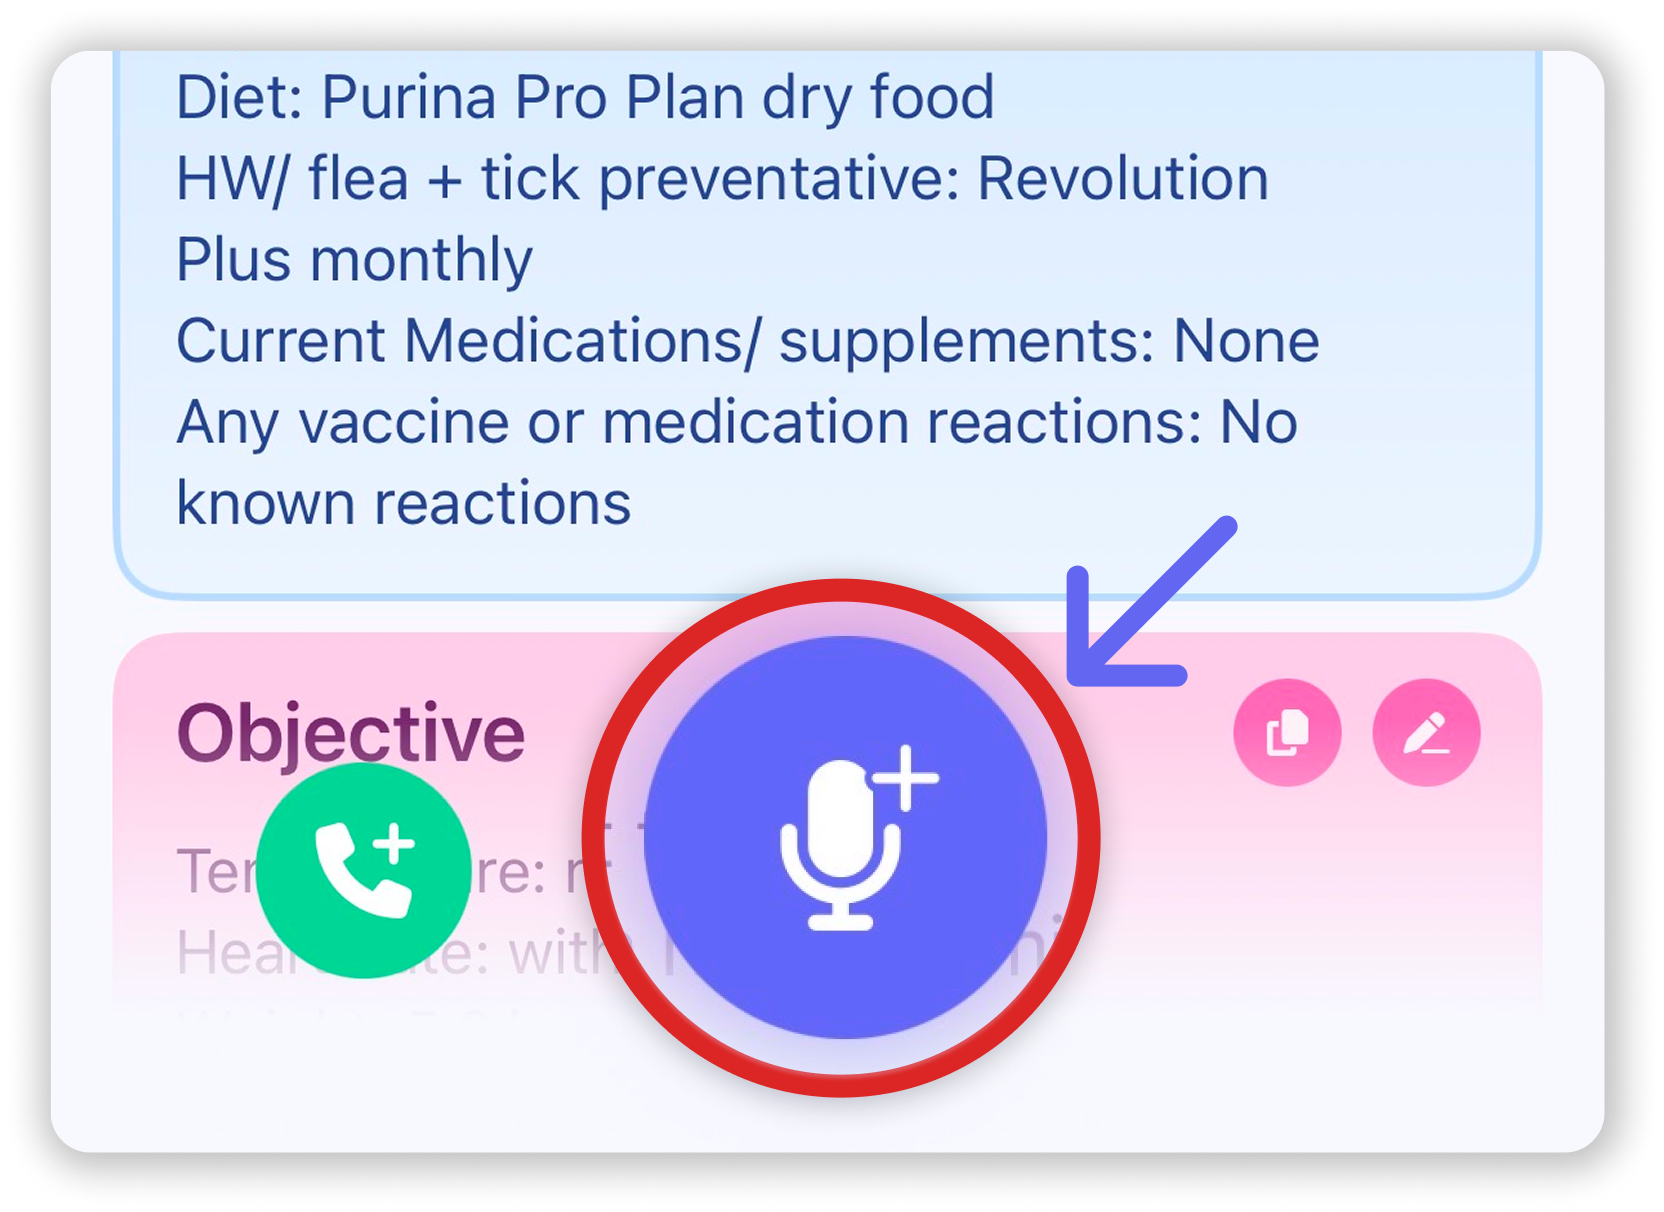
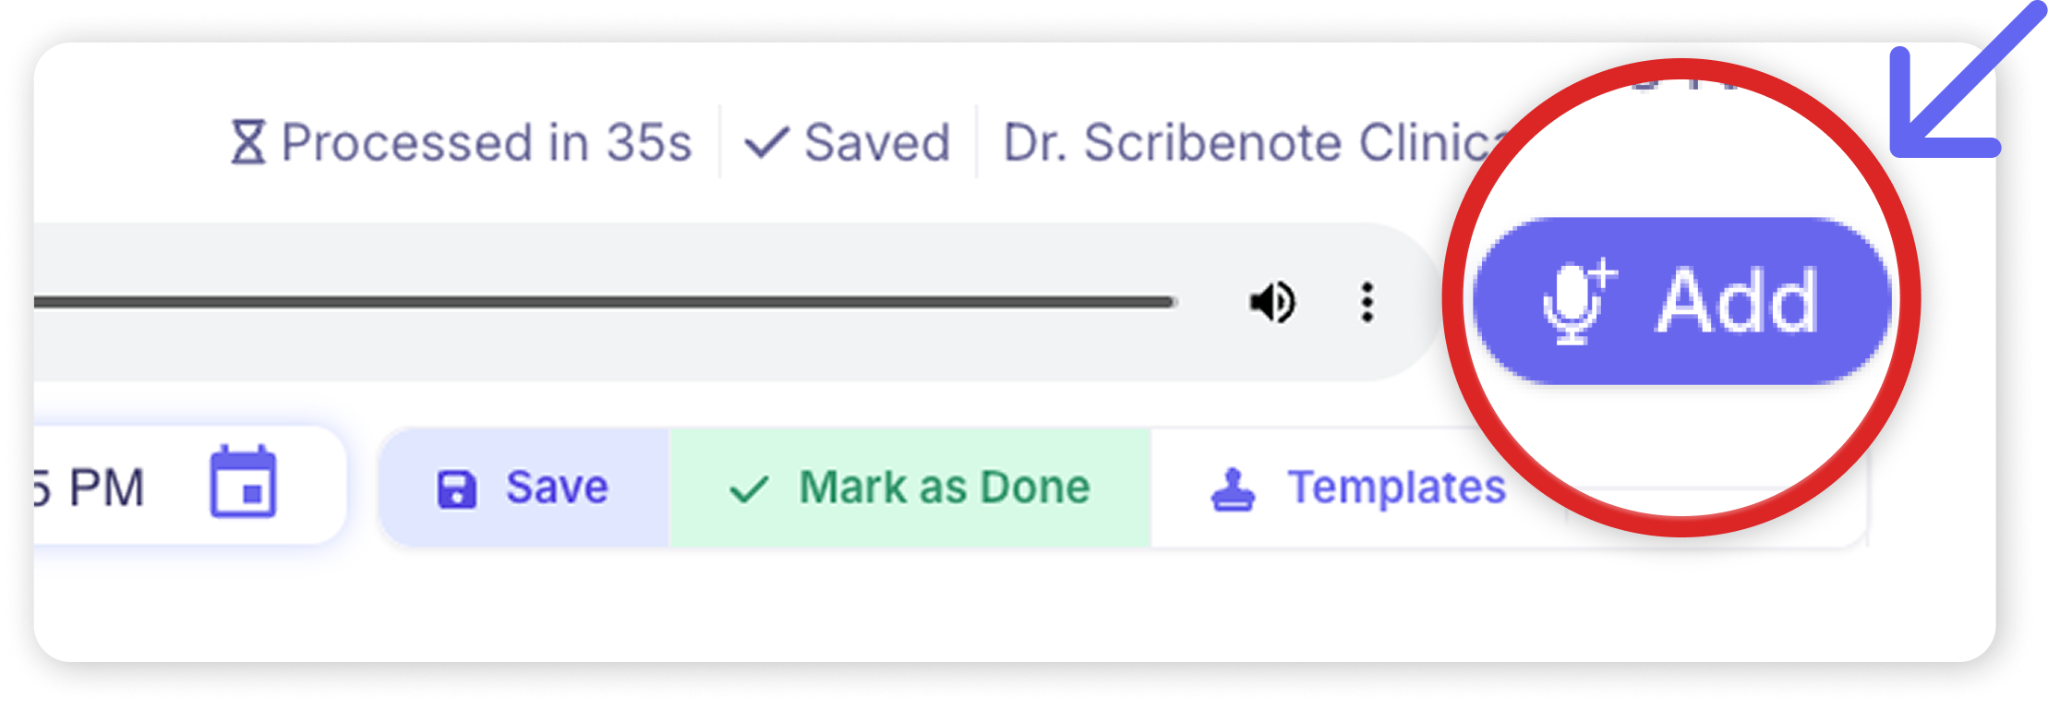
Got bloodwork back and want to review it with the client? Open the note, and click the microphone with the + sign. From there, you can record whatever else you’d like to add to the note, and Scribenote stitches the two together into one note.
Scribenote runs there too. Your notes are saved to your account, not to whatever device you recorded on, so a recording you make on your phone is already sitting on your laptop by the time you sit down to write your records.
If you've only ever opened Scribenote on your computer, install the mobile app and sign in with the same login: [iOS] · [Android]
If you're starting out on mobile, login to Scribenote on your computer at app.scribenote.com (that’s where you’ll export your notes!)
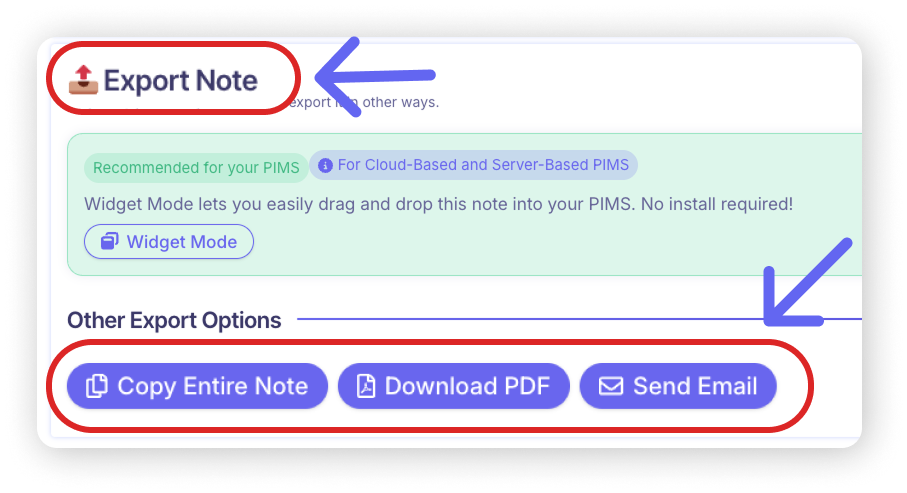
When you open Widget Mode, a small floating window will open. There, you can see all your notes, and drag and drop each note section into the right places in your practice management system. It works with every practice management software, like Avimark, Cornerstone, EzyVet, Digitail, and everything in between.
While most users choose Widget Mode, you have three alternative options to export. They are found in the “Export Note” section at the bottom of your note: copy entire note, download PDF, and send email.
That's the basic workflow in a nutshell. Just get your templates set up once, and everything after that is recording and exporting!
Already using Scribenote Pro and something's not clicking? Email support@scribenote.com and we'll give you a hand.
Just by signing up, you'll get 2 weeks of Scribenote Pro for free.
No credit card required.